

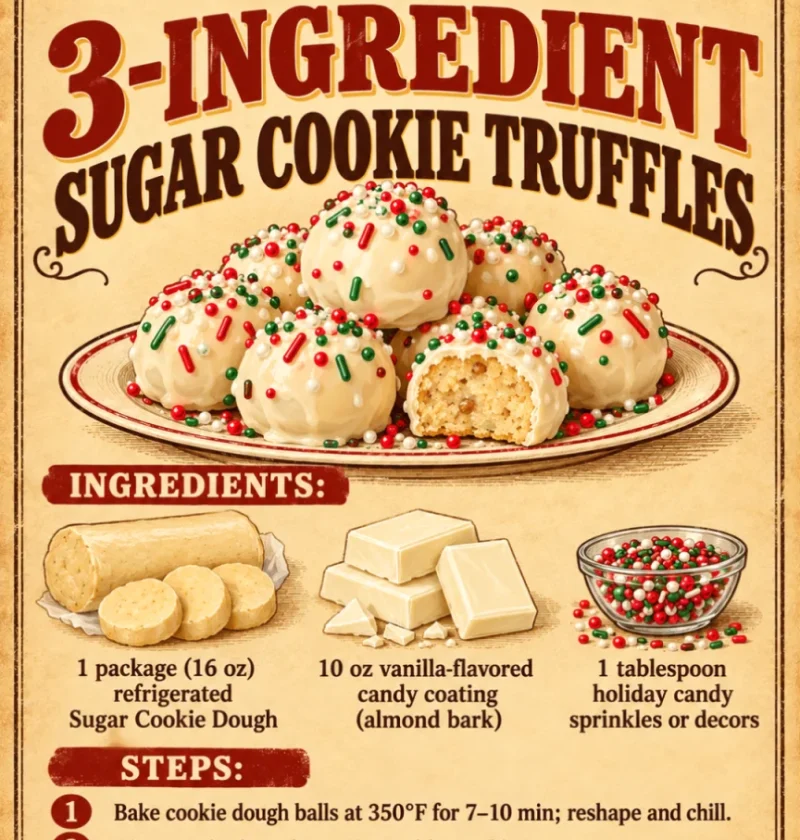
If you’re in search of a delightful treat that combines simplicity with decadence, look no further than these 3-ingredient sugar cookie truffles. These no-bake cookie truffles are not only incredibly easy to make, but they also offer a creamy, sweet filling that melts in your mouth with every bite. Perfect for holiday gatherings, birthday parties, or as an everyday indulgence, these truffles are customizable and can be dressed up with colorful sprinkles or drizzled with chocolate for an added touch of elegance. They’re the kind of sweet treat that brings a smile to everyone’s face and satisfies that craving for something sugary and sweet. The combination of flavors and textures—smooth cream cheese, sugary cookie mix, and vibrant sprinkles—creates a rich experience that is both memorable and gratifying. Not only are they delicious, but these truffles are also a fantastic project to do with kids, making it a fun family activity! Involving children in the kitchen not only teaches them valuable skills but also fosters creativity and enjoyment in cooking. The joy of creating these treats together can lead to cherished memories and ignite a passion for baking in young ones.
Ingredients
- For the truffle filling:
- 1 cup sugar cookie mix
- 1/4 cup cream cheese, softened
- 1/4 cup sprinkles (for mixing into the filling)
- For coating:
- 1 cup white chocolate chips or melting chocolate
- Additional sprinkles (for topping)
Note: You can substitute the sugar cookie mix with gluten-free cookie mix if you need a gluten-free option, which makes these 3-ingredient sugar cookie truffles accessible for those with dietary restrictions. This flexibility is especially helpful for gatherings where guests may have different dietary needs. Use a high-quality cream cheese for a smooth filling, as low-fat or non-dairy alternatives can affect the texture and flavor significantly. It’s best to choose a cream cheese that is full-fat for optimal creaminess and taste; look for brands that offer a rich and tangy flavor profile that complements the sweetness of the cookie mix. Additionally, feel free to experiment with different types of sprinkles to match your personal aesthetic or event theme. For instance, using seasonal sprinkles can add a festive touch for holidays or special occasions. You can learn more about this topic and its variations, including incorporating flavor extracts or different types of cookie mixes to enhance your truffles further.
Steps / Instructions
- In a mixing bowl, combine the sugar cookie mix and softened cream cheese. Use a spatula to blend them together until a dough-like consistency forms. Make sure there are no dry patches of cookie mix left; the mixture should be fully integrated and smooth, resembling a thick cookie dough. This step is crucial as it lays the foundation for a great texture overall.
- Add in 1/4 cup of sprinkles and continue to mix until they are evenly distributed throughout the dough. This not only adds color but also gives a delightful crunch to the truffles, enhancing the overall texture and visual appeal. Feel free to adjust the amount of sprinkles based on personal preference; more sprinkles will give a more festive look.
- Using your hands, form small balls from the dough, roughly one inch in diameter. Place the formed truffles on a baking sheet lined with parchment paper. For uniformity, you might consider using a small cookie scoop, which helps in achieving consistent size. This technique ensures that each truffle is similar in taste and appearance, making them great for sharing, especially at gatherings where presentation matters.
- Once all the balls are formed, refrigerate them for at least 30 minutes to firm up. This will help them hold their shape when you coat them, making the process smoother and preventing any mishaps during dipping. Chilling the truffles also enhances their flavor, allowing the ingredients to meld together beautifully.
- While the truffles are chilling, melt the white chocolate chips in a microwave-safe bowl. Heat in 30-second intervals, stirring in between, until completely melted and smooth. Be cautious not to overheat the chocolate, as it can seize up; if it becomes too thick, you can add a teaspoon of vegetable oil to thin it out and regain that perfect dipping consistency. This step is critical, as a smooth chocolate coating enhances the overall enjoyment of the truffles.
- Take the chilled truffles out of the refrigerator. Using a fork or a dipping tool, dip each truffle into the melted chocolate, ensuring they are completely coated. Shake off any excess chocolate to create a thin, even layer around the truffle. This step is crucial for the texture, as a thick coat may overwhelm the delicate flavors of the filling. Not only does this control the amount of chocolate, but it also maintains the integrity of the truffle’s creamy center.
- After coating, allow the excess chocolate to drip off and place the truffles back on the parchment-lined baking sheet. This ensures they don’t stick to the surface and keeps them looking neat for presentation. You can gently tap the fork against the bowl to remove any extra chocolate, which can also help create a smoother finish on the truffles.
- Before the chocolate sets, sprinkle additional sprinkles on top of each truffle for a festive look. This is a great time to get creative; you can use different types of sprinkles—such as nonpareils, edible glitter, or themed shapes—to match any occasion or to provide a fun twist. Consider coordinating the sprinkle colors with your event theme for an extra touch of flair.
- Let the chocolate coating set at room temperature for about 15-30 minutes, or you can speed up the process by placing them in the refrigerator for 10 minutes. This will help the chocolate harden properly, creating a delightful shell around the creamy filling. For optimal results, make sure they are fully chilled before serving, as this enhances the texture and flavor experience.
Tips & Tricks
For the best flavor and texture: Check out our related guide for more tips. A few tweaks can elevate the classic 3-ingredient sugar cookie truffles to the next level!
- Use room temperature cream cheese to ensure it blends well with the cookie mix. If it’s too cold, it may create lumps in your mixture, resulting in an uneven texture. For best results, leave it out for at least 30 minutes before starting your recipe.
- Make sure the cookie dough is chilled enough; this makes rolling the balls easier and helps them hold their shape during the chocolate coating process. If the dough feels too soft, stick it back in the fridge for a few minutes until it firms up sufficiently. This also helps in achieving a better coating later on.
- Experiment with different types of chocolate for coating. Dark chocolate or milk chocolate can add an exciting flavor twist to the truffles. Infusing the chocolate with a splash of peppermint extract or orange zest can also provide a unique flavor profile that elevates these treats. Be adventurous and try various flavor combinations to discover your favorite!
- Store the truffles in an airtight container in the refrigerator. They can last up to a week, though they are usually devoured much quicker! If needed, separate layers with parchment paper to keep them from sticking together, ensuring they remain fresh. Additionally, consider freezing them for longer storage; just allow them to thaw in the fridge before serving.
- If you’re making these truffles ahead of time, prepare the filling and store the formed balls in the refrigerator. Coat with chocolate just before serving for the best texture. This method also allows you to save time on the day of your event, making it a practical choice for busy hosts. Planning ahead will ensure you have a delightful treat ready for any occasion without the last-minute rush.
Conclusion
These 3-ingredient sugar cookie truffles are a simple yet indulgent treat that’s perfect for any occasion. Whether you’re hosting a holiday party or simply looking for a sweet snack, these no-bake cookie truffles are sure to impress. With their creamy filling, festive appearance, and delightful taste, they are bound to become a favorite in your household. Try them out at your next gathering, and watch them quickly become a favorite among friends and family! Don’t forget to share your experiences and any creative twists you come up with; your feedback could inspire others to get creative in their kitchens!

3-Ingredient Sugar Cookie Truffles
Course: Dessert Cuisine: American Difficulty: Easy
🍽️Servings12
⏱️Prep Time15 min
🍳Cook Time30 min
🔥Calories120 kcalDelightful no-bake cookie truffles that combine simplicity with decadence, featuring a creamy, sweet filling that melts in your mouth.
Cook Mode Keep the screen of your device onIngredients
-
1 cup sugar cookie mix
-
1/4 cup cream cheese, softened
-
1/4 cup sprinkles (for mixing into the filling)
-
1 cup white chocolate chips or melting chocolate
-
Additional sprinkles (for topping)
Directions
1.In a mixing bowl, combine the sugar cookie mix and softened cream cheese. Mix until a dough-like consistency forms.
2.Add in 1/4 cup of sprinkles and mix until evenly distributed.
3.Form small balls from the dough, roughly one inch in diameter, and place on a baking sheet lined with parchment paper.
4.Refrigerate the formed truffles for at least 30 minutes to firm up.
5.Melt the white chocolate chips in a microwave-safe bowl, heating in 30-second intervals until smooth.
6.Dip each truffle into the melted chocolate, ensuring they are completely coated, then shake off excess chocolate.
7.Place the coated truffles back on the baking sheet and sprinkle additional sprinkles on top before the chocolate sets.
8.Let the chocolate coating set at room temperature for 15-30 minutes, or refrigerate for 10 minutes to speed up the process.
Nutrition Facts
Recipe Reviews
- ★★★★★
Excellent recipe!
Leave a Reply
Your email address will not be published. Required fields are marked *
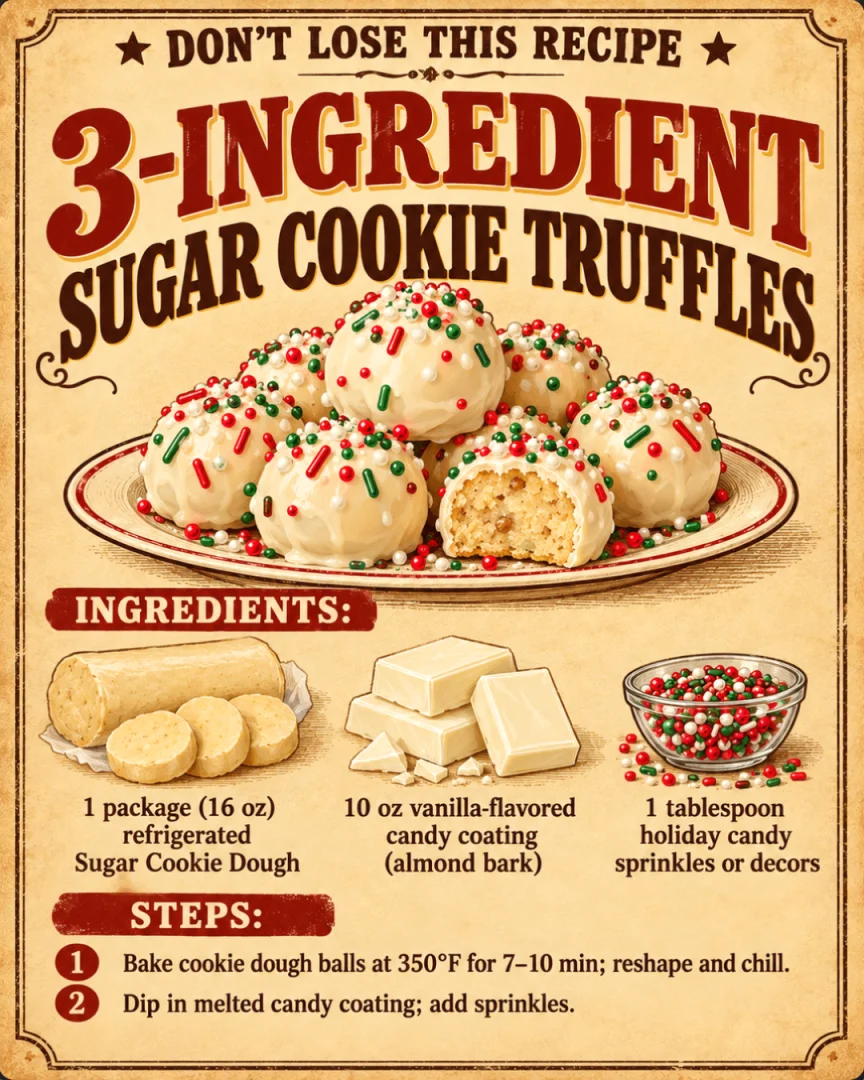
3-Ingredient Sugar Cookie Truffles
Delightful no-bake cookie truffles that combine simplicity with decadence, featuring a creamy, sweet filling that melts in your mouth.
Ingredients
- 1 cup sugar cookie mix
- 1/4 cup cream cheese, softened
- 1/4 cup sprinkles (for mixing into the filling)
- 1 cup white chocolate chips or melting chocolate
- Additional sprinkles (for topping)
Directions
In a mixing bowl, combine the sugar cookie mix and softened cream cheese. Mix until a dough-like consistency forms.
Add in 1/4 cup of sprinkles and mix until evenly distributed.
Form small balls from the dough, roughly one inch in diameter, and place on a baking sheet lined with parchment paper.
Refrigerate the formed truffles for at least 30 minutes to firm up.
Melt the white chocolate chips in a microwave-safe bowl, heating in 30-second intervals until smooth.
Dip each truffle into the melted chocolate, ensuring they are completely coated, then shake off excess chocolate.
Place the coated truffles back on the baking sheet and sprinkle additional sprinkles on top before the chocolate sets.
Let the chocolate coating set at room temperature for 15-30 minutes, or refrigerate for 10 minutes to speed up the process.
Nutrition Facts
Recipe Reviews
- ★★★★★
Excellent recipe!
Leave a Reply
Your email address will not be published. Required fields are marked *

Excellent recipe!