

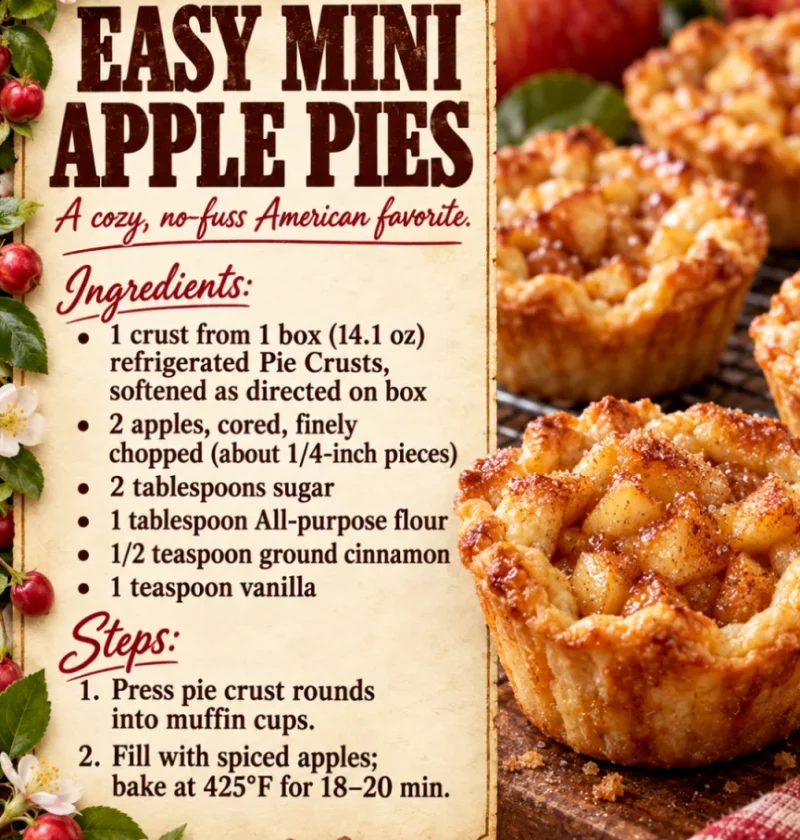
If you’re looking for a delightful treat that combines the comforting flavors of classic apple pie with the convenience of bite-sized portions, then you’ve come to the right place! These easy mini apple pies are not only quick to make but also offer the perfect balance of sweet and tart, wrapped in a flaky crust that’s sure to impress. Whether you’re hosting a fall gathering, celebrating a birthday, or just craving a delicious dessert at home, these individual apple pies are the perfect solution. With homemade apple pie filling and a buttery flaky pie crust, each mini pie captures the essence of traditional apple pie while being perfectly portable. The aroma of baked apples and cinnamon wafting through your kitchen will make your mouth water and get everyone eagerly anticipating dessert. Each bite is a nostalgic reminder of cozy family gatherings and warm kitchens, making these mini pies a heartwarming addition to any occasion. Plus, they’re an excellent way to use up any extra apples from your local orchard or farmer’s market, turning a simple fruit into a delightful dessert that everyone will adore.
Ingredients
Gather your ingredients to make these easy mini apple pies. You will find that both the homemade apple pie filling and the flaky pie crust recipe are simple yet satisfying. Here’s what you’ll need: You can learn more about this topic. It’s essential to use quality ingredients to enhance the flavor and texture of your pies. Fresh, seasonal ingredients will yield the best results, so consider shopping at local farmers’ markets for the apples, where you can often find a wider range of varieties, ensuring your pies are both delicious and unique.
- For the Flaky Pie Crust:
- 1 ½ cups all-purpose flour – Ensure it’s spooned and leveled for accuracy to avoid a tough crust. Using a kitchen scale can give you even better precision.
- 1 tsp sugar – This adds a touch of sweetness to the crust, balancing flavors with the apple filling and promoting browning during baking for a lovely color.
- ½ tsp salt – Essential for balancing flavors and enhancing the overall taste of the crust; kosher salt is a great option for its texture.
- ½ cup unsalted butter, chilled and diced – The colder the butter, the flakier the crust will be; consider cutting it into small cubes before chilling to ensure it remains very cold.
- 4-6 tbsp ice water – This helps to bring the dough together without melting the butter; adjust the amount based on humidity and flour type. If you’re in a particularly humid climate, you might need a tad less.
- For the Homemade Apple Pie Filling:
- 3 medium apples (e.g., Granny Smith or Honeycrisp), peeled, cored, and diced – Mixing varieties gives a balanced flavor and texture, ensuring sweetness and tartness in every bite. Be sure to cut the apples into uniform pieces to ensure even cooking.
- ½ cup brown sugar – For a deeper caramel flavor, dark brown sugar can be used, allowing for a richer taste that beautifully complements the apples and enhances their natural sweetness.
- 1 tsp cinnamon – Essential for that warm, cozy flavor reminiscent of autumn; feel free to add more for a spicier kick, or consider adding a pinch of cardamom for an extra layer of flavor.
- ¼ tsp nutmeg – Just a pinch adds complexity to the apple filling, enhancing the aromatic profile and making it feel even more homey and inviting.
- 1 tbsp lemon juice – Brightens the flavors and prevents browning of the apples, keeping them fresh and vibrant; you could also use apple cider vinegar for a different tang.
- 1 tbsp cornstarch – Thickens the filling, keeping it from being too runny, ensuring the pie holds its shape; be sure to mix it well with the other ingredients to avoid clumps.
- 1 tbsp butter, for dotting – Adds richness to the filling, giving it a beautiful texture and enhancing the flavor, ensuring that your filling is as indulgent as possible.
- For Topping:
- 1 egg, beaten (for egg wash) – This gives the pies a beautiful golden color and a nice shine; for an extra touch, you can add a splash of milk to the egg wash.
- Granulated sugar, for sprinkling – Adds a sweet crunch to the topping, making each bite even more delightful; you can also use coarse sugar for added texture.
Steps / Instructions
- Make the Pie Crust: In a mixing bowl, combine the flour, sugar, and salt. Add the diced butter and mix with a pastry cutter or your fingers until the mixture resembles coarse crumbs, with pea-sized pieces of butter remaining. This step is crucial; keep mixing until you achieve the right consistency. Remember, the key to a flaky crust is to ensure that the butter remains cold throughout the process, so incorporate it quickly.
- Gradually add ice water, one tablespoon at a time, mixing until the dough comes together. Aim for a moist but not sticky dough that holds together without falling apart. Form the dough into a ball, flatten it into a disk, wrap in plastic, and refrigerate for at least 30 minutes. Chilling the dough allows the gluten to relax, preventing toughness and providing a tender crust, which is essential for those flaky layers.
- Prepare the Apple Filling: In a large bowl, toss the diced apples with brown sugar, cinnamon, nutmeg, lemon juice, and cornstarch. Make sure each apple piece is well-coated to absorb the flavors. Let the mixture sit for about 10 minutes to allow the flavors to meld, and the cornstarch to absorb some moisture from the apples, helping to create a thick filling that won’t leak during baking.
- Preheat the Oven: Preheat your oven to 375°F (190°C) and line a baking sheet with parchment paper to catch any drips during baking. This will make cleanup easier and prevent sticking; plus, it helps in achieving an even bake.
- Roll Out the Dough: On a floured surface, roll out the chilled pie dough to about 1/8 inch thick for a nice, thin crust. Use a round cutter (about 4-5 inches in diameter) to cut out circles, ensuring even thickness for uniform baking. Make sure to keep the dough moving on the floured surface to prevent sticking; if it sticks, dust with additional flour as needed. You may also use a rolling pin with a non-stick surface to make this process easier.
- Assemble the Mini Pies: Place a dough circle in each cavity of a muffin tin. Gently press to fit the shape, ensuring there are no air bubbles under the dough. Fill each crust with about 1 tablespoon of the apple filling and dot with a small piece of butter for added richness and flavor, enhancing the overall experience of these easy mini apple pies.
- Cover the filling with another dough circle, crimping the edges to seal securely. Use a fork or your fingers to create a decorative edge, which also ensures the filling stays contained during baking. Cut a small slit in the top of each pie to allow steam to escape, preventing the top from bursting and ensuring even cooking; these little vents will also let the delightful aroma waft through your kitchen.
- Apply Egg Wash: Brush the tops of each mini pie with the beaten egg using a pastry brush to ensure even coverage. Sprinkle with granulated sugar for a sweet finish and extra crunch; this will make your pies shine and look bakery-fresh.
- Bake: Bake in the preheated oven for 20-25 minutes, or until the crusts are golden brown and the filling is bubbling. Keep an eye on them in the last few minutes to prevent over-browning. If necessary, rotate the muffin tin for even cooking; this ensures that all pies develop that perfect golden crust.
- Cool and Serve: Allow the mini apple pies to cool in the muffin tin for 5 minutes before transferring to a wire rack to cool completely. Serve warm or at room temperature, perhaps with a scoop of vanilla ice cream or a drizzle of caramel sauce for an extra treat, making for a delightful dessert experience that is sure to impress your guests.
Tips & Tricks
To ensure your easy mini apple pies turn out perfectly, consider these helpful tips: Check out our related guide for more tips. These insights will help enhance your baking experience and ensure you impress everyone with your culinary skills. Baking is as much about technique as it is about ingredients, so take the time to follow these recommendations for the best results.
- Ingredient Quality: Using fresh, crisp apples yields the best flavor. Choose a mixture of sweet and tart apples for depth—try combinations like Granny Smith and Fuji for a balanced taste. Fresh spices can also elevate the flavor profile immensely; consider grinding your own spices for optimal freshness, which can really make a difference in your final product.
- Chill the Dough: Keeping your dough cold prevents it from becoming tough. If you have time, chill it longer than 30 minutes, or even overnight. This step is essential for achieving the perfect flakiness and ensuring the butter stays solid during baking, which creates those beautiful layers that everyone loves.
- Don’t Overfill: Be cautious not to overfill the pies, as the filling can bubble over while baking. A heaping tablespoon is usually perfect; less is more when it comes to filling, allowing the crust to fully crisp up and the filling to set properly. This way, you’ll avoid a messy kitchen and have neatly sealed mini apple pies.
- Storage: Leftover mini pies can be stored in an airtight container at room temperature for up to 2 days, or in the fridge for up to a week. They also freeze well—just wrap them tightly and store for up to 3 months. Reheat in the oven for the best texture; the microwave may make the crust soggy, which we definitely want to avoid for these delightful easy mini apple pies. Thaw overnight in the fridge before reheating for best results.

Easy Mini Apple Pies
Course: Dessert Cuisine: American Difficulty: Easy
🍽️Servings12
⏱️Prep Time30 min
🍳Cook Time25 min
🔥Calories200 kcalThese easy mini apple pies are not only quick to make but also offer the perfect balance of sweet and tart, wrapped in a flaky crust that’s sure to impress. Each mini pie captures the essence of traditional apple pie while being perfectly portable.
Cook Mode Keep the screen of your device onIngredients
-
1 ½ cups all-purpose flour
-
1 tsp sugar
-
½ tsp salt
-
½ cup unsalted butter, chilled and diced
-
4-6 tbsp ice water
-
3 medium apples (e.g., Granny Smith or Honeycrisp), peeled, cored, and diced
-
½ cup brown sugar
-
1 tsp cinnamon
-
¼ tsp nutmeg
-
1 tbsp lemon juice
-
1 tbsp cornstarch
-
1 tbsp butter, for dotting
-
1 egg, beaten (for egg wash)
-
Granulated sugar, for sprinkling
Directions
1.Make the Pie Crust: In a mixing bowl, combine the flour, sugar, and salt. Add the diced butter and mix with a pastry cutter or your fingers until the mixture resembles coarse crumbs, with pea-sized pieces of butter remaining.
2.Gradually add ice water, one tablespoon at a time, mixing until the dough comes together. Aim for a moist but not sticky dough that holds together without falling apart.
3.Form the dough into a ball, flatten it into a disk, wrap in plastic, and refrigerate for at least 30 minutes.
4.Prepare the Apple Filling: In a large bowl, toss the diced apples with brown sugar, cinnamon, nutmeg, lemon juice, and cornstarch.
5.Preheat the Oven: Preheat your oven to 375°F (190°C) and line a baking sheet with parchment paper.
6.Roll Out the Dough: On a floured surface, roll out the chilled pie dough to about 1/8 inch thick. Use a round cutter to cut out circles, ensuring even thickness.
7.Assemble the Mini Pies: Place a dough circle in each cavity of a muffin tin. Fill each crust with about 1 tablespoon of the apple filling and dot with a small piece of butter.
8.Cover the filling with another dough circle, crimping the edges to seal securely. Cut a small slit in the top of each pie to allow steam to escape.
9.Apply Egg Wash: Brush the tops of each mini pie with the beaten egg and sprinkle with granulated sugar.
10.Bake: Bake in the preheated oven for 20-25 minutes, or until the crusts are golden brown and the filling is bubbling.
Nutrition Facts
Recipe Reviews
- ★★★★★
Excellent recipe!
Leave a Reply
Your email address will not be published. Required fields are marked *
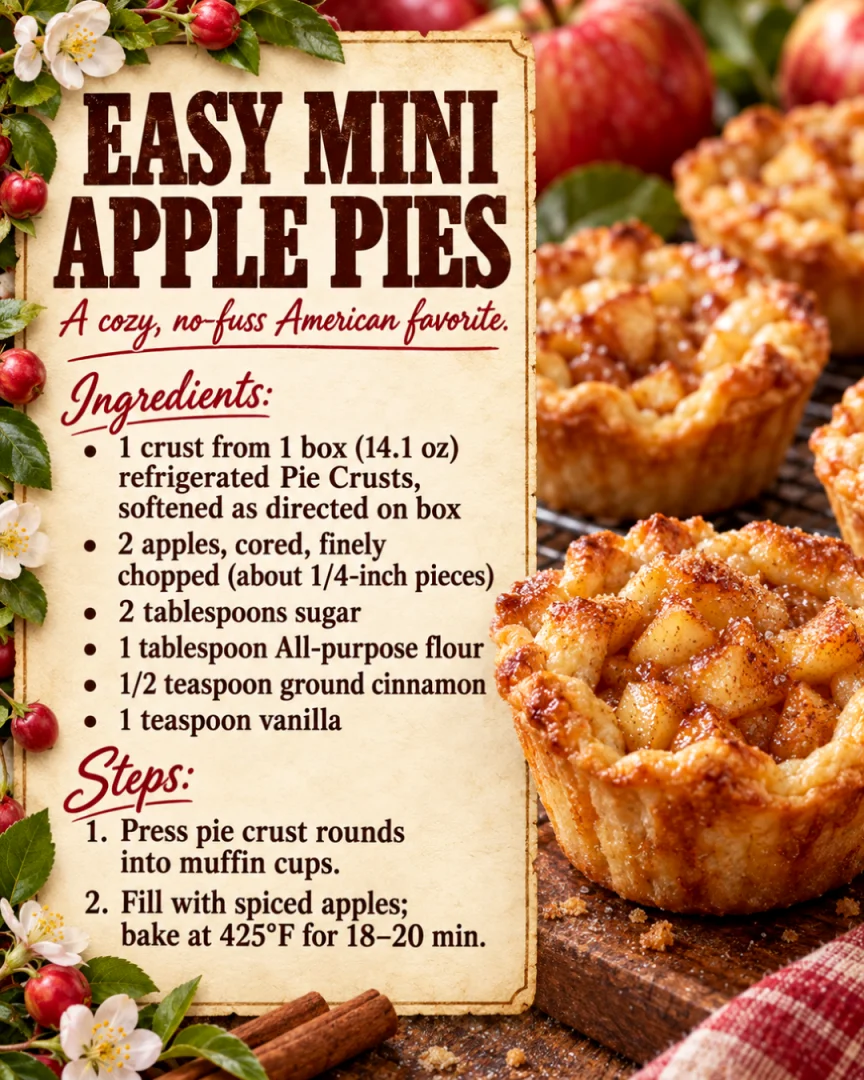
Easy Mini Apple Pies
These easy mini apple pies are not only quick to make but also offer the perfect balance of sweet and tart, wrapped in a flaky crust that’s sure to impress. Each mini pie captures the essence of traditional apple pie while being perfectly portable.
Ingredients
- 1 ½ cups all-purpose flour
- 1 tsp sugar
- ½ tsp salt
- ½ cup unsalted butter, chilled and diced
- 4-6 tbsp ice water
- 3 medium apples (e.g., Granny Smith or Honeycrisp), peeled, cored, and diced
- ½ cup brown sugar
- 1 tsp cinnamon
- ¼ tsp nutmeg
- 1 tbsp lemon juice
- 1 tbsp cornstarch
- 1 tbsp butter, for dotting
- 1 egg, beaten (for egg wash)
- Granulated sugar, for sprinkling
Directions
Make the Pie Crust: In a mixing bowl, combine the flour, sugar, and salt. Add the diced butter and mix with a pastry cutter or your fingers until the mixture resembles coarse crumbs, with pea-sized pieces of butter remaining.
Gradually add ice water, one tablespoon at a time, mixing until the dough comes together. Aim for a moist but not sticky dough that holds together without falling apart.
Form the dough into a ball, flatten it into a disk, wrap in plastic, and refrigerate for at least 30 minutes.
Prepare the Apple Filling: In a large bowl, toss the diced apples with brown sugar, cinnamon, nutmeg, lemon juice, and cornstarch.
Preheat the Oven: Preheat your oven to 375°F (190°C) and line a baking sheet with parchment paper.
Roll Out the Dough: On a floured surface, roll out the chilled pie dough to about 1/8 inch thick. Use a round cutter to cut out circles, ensuring even thickness.
Assemble the Mini Pies: Place a dough circle in each cavity of a muffin tin. Fill each crust with about 1 tablespoon of the apple filling and dot with a small piece of butter.
Cover the filling with another dough circle, crimping the edges to seal securely. Cut a small slit in the top of each pie to allow steam to escape.
Apply Egg Wash: Brush the tops of each mini pie with the beaten egg and sprinkle with granulated sugar.
Bake: Bake in the preheated oven for 20-25 minutes, or until the crusts are golden brown and the filling is bubbling.
Nutrition Facts
Recipe Reviews
- ★★★★★
Excellent recipe!
Leave a Reply
Your email address will not be published. Required fields are marked *


Excellent recipe!