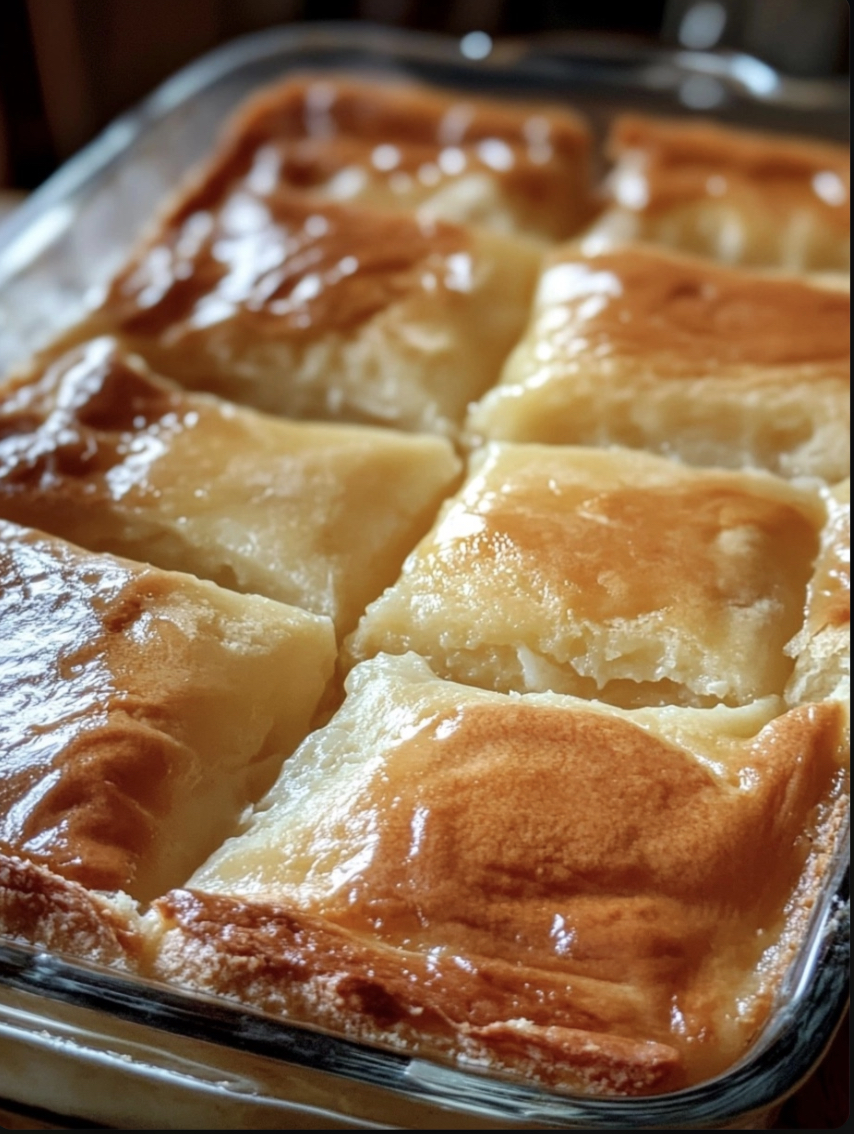
Eggnog Poke Cake is the perfect dessert to celebrate the holiday season. This moist, flavorful cake is infused with creamy eggnog, making it an irresistible treat for gatherings and family dinners. With a fluffy whipped topping and a sprinkle of nutmeg, this poke cake is sure to be a crowd-pleaser. It’s easy to make and combines all the flavors of eggnog into a delicious cake that everyone will love.
Table of Contents
- Introduction
- Ingredients
- Step-by-Step Instructions
- Cook Notes & Tips
- Variations
- Frequently Asked Questions (FAQs)
- Conclusion
Ingredients
For Eggnog Poke Cake
- 1 box yellow cake mix (plus ingredients listed on the box)
- 2 cups eggnog
- 1 (3.4-ounce) package instant vanilla pudding mix
- 1 teaspoon ground nutmeg
- 1 teaspoon rum extract (optional)
- 1 (8-ounce) container whipped topping (such as Cool Whip)
- Ground cinnamon, for garnish
Step-by-Step Instructions
Step 1: Prepare the Cake
- Preheat your oven to 350°F (175°C) and grease a 9×13-inch baking dish.
- Prepare the yellow cake mix according to the package instructions and bake in the prepared baking dish for the recommended time.
- Once the cake is baked, allow it to cool for about 10 minutes.
Step 2: Poke Holes in the Cake
- Using the end of a wooden spoon or a straw, poke holes all over the top of the cake, spacing them about an inch apart.
Step 3: Make the Eggnog Filling
- In a medium mixing bowl, whisk together the eggnog, instant vanilla pudding mix, ground nutmeg, and rum extract (if using) until smooth and thickened.
- Pour the eggnog mixture evenly over the cake, making sure it fills all the holes.
Step 4: Chill the Cake
- Cover the cake with plastic wrap and refrigerate for at least 2 hours, or until the eggnog mixture is absorbed and the cake is chilled.
Step 5: Add the Whipped Topping
- Once the cake is fully chilled, spread the whipped topping evenly over the top of the cake.
- Garnish with a sprinkle of ground cinnamon and extra nutmeg if desired.
Step 6: Serve
- Slice the cake and serve chilled. Enjoy this festive holiday dessert!
Cook Notes & Tips
- Cake Mix: You can use a white or spice cake mix instead of yellow cake mix for a different flavor.
- Eggnog: Use full-fat eggnog for the creamiest texture and richest flavor.
- Chilling Time: Make sure to chill the cake long enough for the eggnog mixture to set properly and for the flavors to meld together.
Variations
- Spiced Eggnog Cake: Add 1 teaspoon of cinnamon and 1/2 teaspoon of allspice to the cake mix for extra holiday spice.
- Boozy Eggnog Cake: Replace 1/4 cup of the eggnog with your favorite rum or bourbon for an adult version of this dessert.
- Chocolate Eggnog Poke Cake: Use a chocolate cake mix for a twist on this classic recipe, pairing the rich chocolate flavor with creamy eggnog.
Frequently Asked Questions (FAQs)
1. Can I Make This Cake Ahead of Time?
Yes, this cake can be made up to 2 days in advance. Store it in the refrigerator until ready to serve. Adding the whipped topping just before serving will keep it fresh.
2. How Should I Store Leftovers?
Store any leftover cake in an airtight container in the refrigerator for up to 4 days.
3. Can I Use Homemade Eggnog?
Yes, you can use homemade eggnog instead of store-bought for a more personalized touch. Just make sure it’s well chilled before using.
4. Can I Freeze Eggnog Poke Cake?
Freezing is not recommended as the texture of the pudding and whipped topping may change when thawed. It’s best to enjoy this cake fresh or within a few days.
Eggnog Poke Cake is a festive and easy dessert that brings the holiday flavors of eggnog into a delightful cake. With its moist texture, creamy filling, and a hint of nutmeg, it’s the perfect treat for holiday parties or cozy family gatherings. Feel free to experiment with different flavors and make this dessert your own, bringing joy to every holiday celebration.
Happy baking!




Hi there! I just wanted to ask if you ever have any trouble with hackers? My last blog (wordpress) was hacked and I ended up losing months of hard work due to no data backup. Do you have any methods to prevent hackers?
I really like forgathering useful info, this post has got me even more info! .
Looking for quality and anonymous private proxies? DreamProxies.com presents the very best quality confidential proxies with 50 savings and BIG bonuses! Obtain today and appreciate your private proxies