Introduction
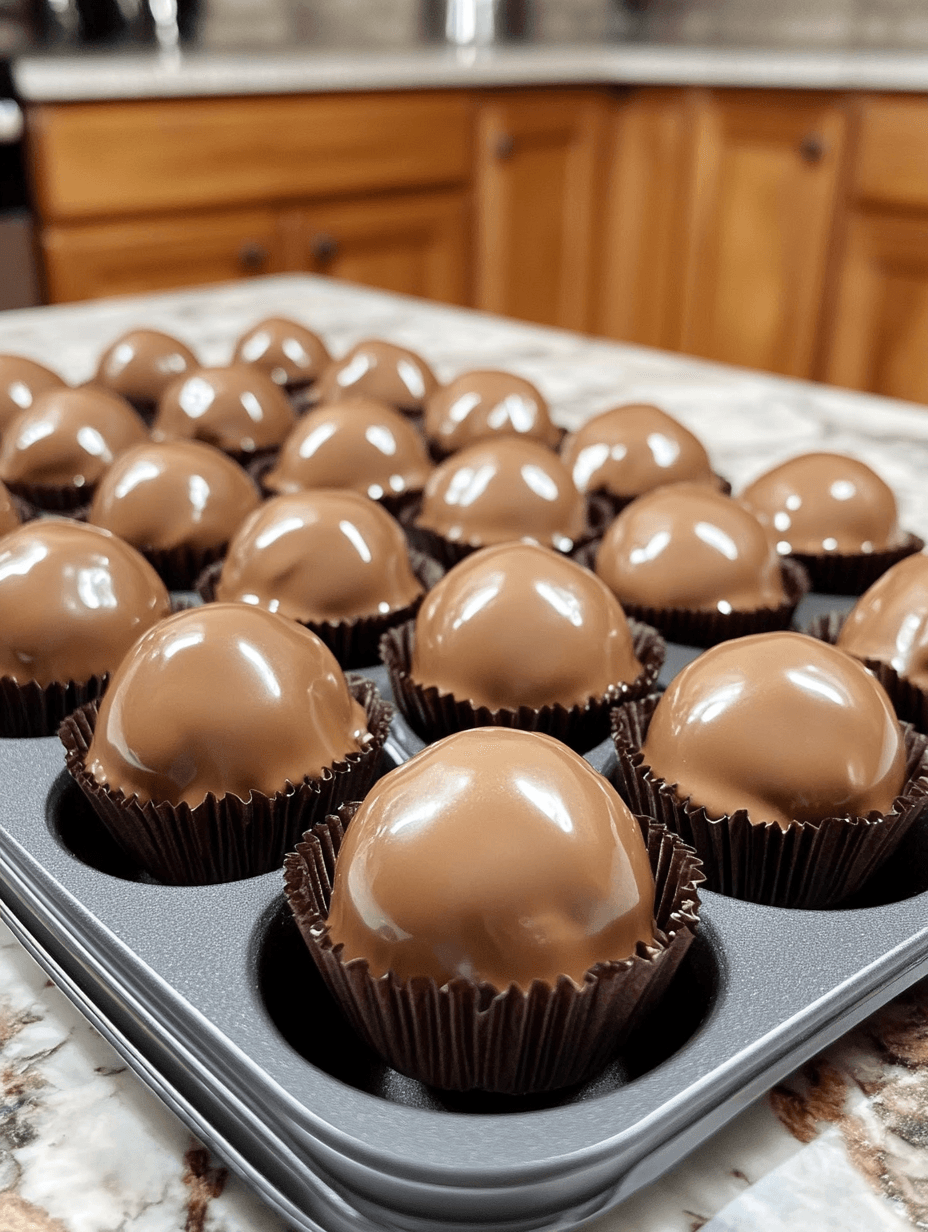
There’s something about the smell of homemade treats wafting through the air that instantly transports me back to my childhood. One recipe that holds a special place in my heart is the beloved Butterfinger Balls. These delightful bite-sized treats are a family tradition that never fails to bring joy and nostalgia. The combination of creamy peanut butter, crispy cereal, and the irresistible sweetness of chocolate creates a flavor explosion that is simply irresistible.
Why This Recipe is a Must-Try
When it comes to Butterfinger Balls, there are countless reasons why this recipe stands out from the rest. Let me share with you just a few of the many compelling reasons why you must give this delectable treat a try:
1. Irresistible Flavor
The combination of creamy peanut butter and the distinct crunch of crispy cereal creates a symphony of textures that is truly addictive. And let’s not forget about the rich and velvety chocolate coating that adds the perfect touch of sweetness. Each bite is a burst of flavor that will leave you craving for more.
2. Easy to Make
One of the best things about this recipe is its simplicity. With just a handful of pantry staples, you can whip up a batch of Butterfinger Balls in no time. No fancy equipment or complicated techniques required. It’s the perfect recipe for beginners or anyone looking for a quick and easy sweet treat.
3. Versatile and Customizable
While the classic Butterfinger Balls recipe is undeniably delicious, you can also put your own spin on it. Feel free to get creative and experiment with different variations. You can add a sprinkle of sea salt for a salty-sweet twist or drizzle some caramel over the top for an extra indulgent touch. The possibilities are endless, and you can customize this recipe to suit your taste preferences.
4. Perfect for Any Occasion
Whether you’re hosting a party, attending a potluck, or simply craving something sweet, Butterfinger Balls are always a crowd-pleaser. These bite-sized treats are perfect for sharing and can be easily transported. They also make a great homemade gift for friends and family. Trust me, once you introduce these delectable treats to your loved ones, they’ll be begging you for the recipe.
A Look at the Ingredients
Now that you’re convinced that you need to try this mouthwatering recipe, let’s take a closer look at the ingredients that make it so special:
1. Peanut Butter
Peanut butter is the star of this recipe, providing the creamy and nutty base that makes these treats so irresistible. Opt for a smooth and natural peanut butter to achieve the best flavor and texture.
2. Crispy Cereal
The crispy cereal adds a delightful crunch to the Butterfinger Balls. Rice cereal or corn flakes work well in this recipe, but feel free to experiment with different varieties for added texture and flavor.
3. Chocolate
No sweet treat is complete without a luscious chocolate coating. Use high-quality chocolate chips or melting wafers to ensure a smooth and glossy finish. You can choose between milk chocolate, dark chocolate, or even white chocolate, depending on your personal preference.
4. Sweetened Condensed Milk
Sweetened condensed milk not only adds sweetness but also helps bind the ingredients together. It contributes to the smooth and creamy texture of the Butterfinger Balls.
Step-by-Step Instructions
Now that we’ve gone through the reasons why you absolutely need to try this recipe and the key ingredients involved, it’s time to dive into the step-by-step instructions. Follow along, and you’ll have a batch of irresistible Butterfinger Balls in no time:
Step 1: Prepare the Ingredients
Gather all the required ingredients: peanut butter, crispy cereal, chocolate, and sweetened condensed milk. Make sure you have the right measurements to ensure the perfect balance of flavors.
Step 2: Combine the Peanut Butter and Cereal
In a large mixing bowl, add the peanut butter and crispy cereal. Stir well until the cereal is fully coated with the peanut butter. This mixture will serve as the base for the Butterfinger Balls.
Step 3: Shape the Mixture into Balls
Using your hands, take small portions of the peanut butter and cereal mixture and roll them into bite-sized balls. Place the balls on a baking sheet lined with parchment paper for easy cleanup.
Step 4: Chill in the Refrigerator
Once all the balls are formed, place the baking sheet in the refrigerator to allow the balls to firm up. This will make the dipping process easier and prevent them from falling apart.
Step 5: Melt the Chocolate
In a microwave-safe bowl or using a double boiler, melt the chocolate until smooth and creamy. Be sure to stir occasionally to prevent the chocolate from burning.
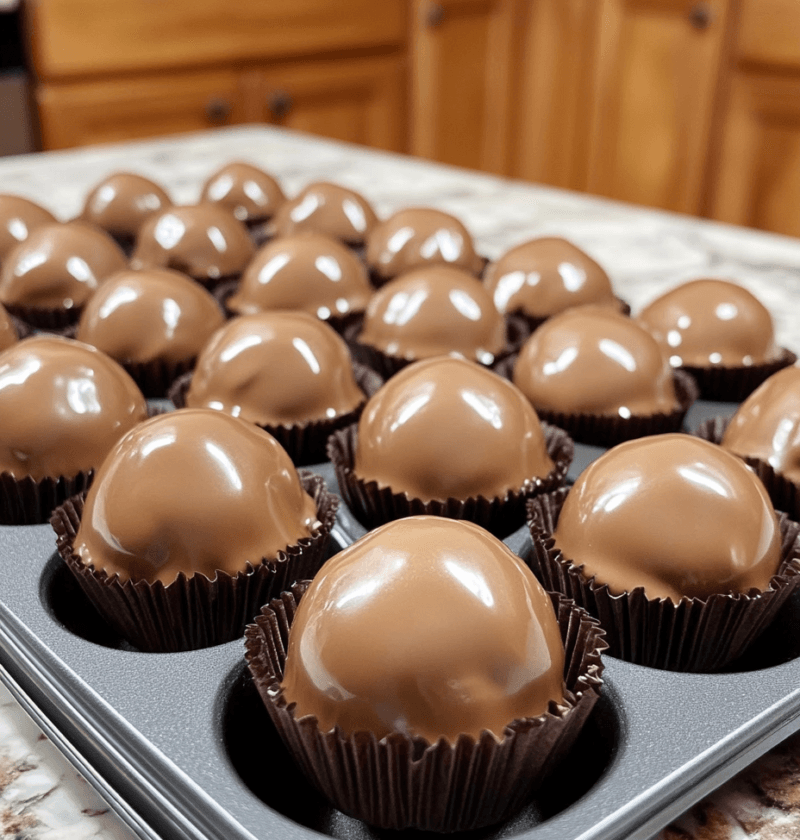
Step 6: Dip the Balls in Chocolate
Remove the chilled balls from the refrigerator. Using a fork or a toothpick, dip each ball into the melted chocolate, ensuring it is fully coated. Allow any excess chocolate to drip off before placing the coated balls back on the baking sheet.
Step 7: Let the Chocolate Set
Place the baking sheet back in the refrigerator and let the chocolate coating set. This will take about 30 minutes to an hour, depending on the temperature of your refrigerator.
Variation: Add a Crunchy Coating
If you want to take your Butterfinger Balls to the next level, consider adding a crunchy coating. Crushed peanuts, toasted coconut flakes, or even crushed Butterfinger candy bars are all fantastic options. Roll the freshly dipped balls in your chosen coating before the chocolate sets for an extra burst of flavor and texture.
FAQ
Now, let’s address some common questions that may arise while making these delightful Butterfinger Balls:
Q: Can I make this ahead of time?
A: Absolutely! In fact, these treats can be made in advance and stored in an airtight container in the refrigerator for up to a week. Just be sure to allow them to come to room temperature before serving for the best flavor and texture.
Q: How can I store leftovers?
A: If you happen to have any leftovers, although it’s quite unlikely, store them in an airtight container in the refrigerator. This will help maintain their freshness and prevent them from becoming too soft.
Q: What’s the best way to reheat them?
A: While these treats are best enjoyed at room temperature, you can gently heat them in the microwave for a few seconds if you prefer a softer texture. Be careful not to overheat them, as the chocolate may melt.
Final Thoughts: Why You’ll Want to Make This Again
As I wrap up this delightful journey of Butterfinger Balls, I can’t help but emphasize why you’ll want to make this recipe again and again. Not only are these treats incredibly delicious, but they also have the power to bring people together and create lasting memories.
So go ahead, gather your loved ones, and embark on a culinary adventure that is sure to delight everyone’s taste buds. Customize this recipe to make it your own, experiment with different flavors, and most importantly, have fun in the process. I guarantee that these Butterfinger Balls will become a cherished recipe in your family, just as they are in mine.