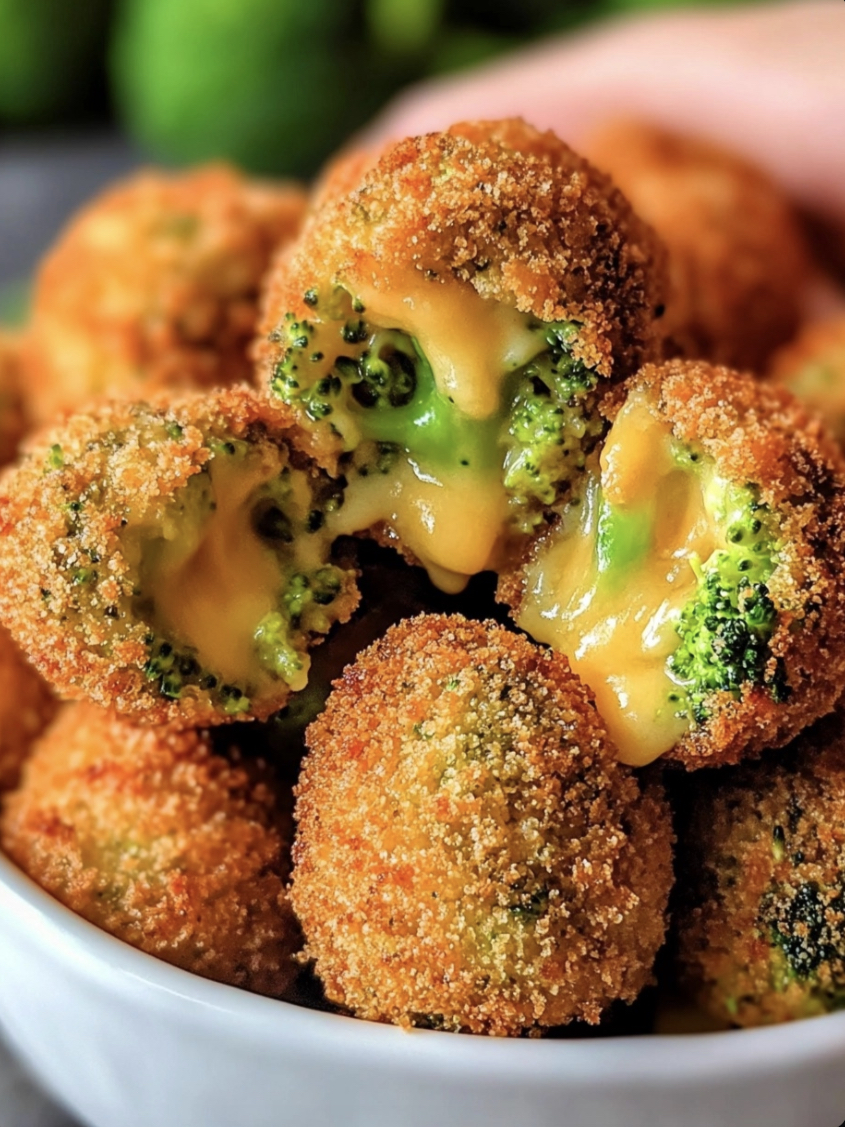
Baked Broccoli Cheese Balls are a tasty and nutritious snack or appetizer that’s perfect for the whole family. These bite-sized treats are packed with tender broccoli, gooey cheese, and seasoned breadcrumbs, then baked to golden perfection. They’re easy to make, healthy, and great for a quick snack, side dish, or party appetizer.
Table of Contents
- Introduction
- Ingredients
- Instructions
- Cook Notes
- Variations
- Serving Suggestions
- Frequently Asked Questions
- Conclusion
Ingredients
- 2 cups broccoli florets (about 1 medium head)
- 1 cup shredded cheddar cheese
- 1/2 cup grated Parmesan cheese
- 1 cup breadcrumbs
- 2 large eggs
- 1 teaspoon garlic powder
- 1/2 teaspoon onion powder
- 1/2 teaspoon salt
- 1/4 teaspoon black pepper
- 1 tablespoon olive oil, for brushing
Instructions
Step 1: Preheat the Oven
Preheat your oven to 400°F (200°C). Line a baking sheet with parchment paper or a silicone baking mat.
Step 2: Steam the Broccoli
Bring a pot of water to a boil. Add the broccoli florets and steam for 4-5 minutes until tender. Drain well and pat dry with paper towels to remove excess moisture. Chop the steamed broccoli into small pieces.
Step 3: Combine Ingredients
In a large mixing bowl, combine the chopped broccoli, shredded cheddar cheese, Parmesan cheese, breadcrumbs, eggs, garlic powder, onion powder, salt, and black pepper. Mix until well combined.
Step 4: Form the Balls
Using your hands or a cookie scoop, form the mixture into 1-inch balls and place them on the prepared baking sheet.
Step 5: Bake
Brush the tops of the broccoli cheese balls with olive oil to help them crisp up. Bake in the preheated oven for 20-25 minutes, or until the balls are golden brown and crispy on the outside.
Step 6: Serve
Allow the broccoli cheese balls to cool for 5 minutes before serving. Enjoy them warm with your favorite dipping sauce.
Cook Notes
- Moisture: Be sure to pat the broccoli dry thoroughly after steaming to avoid excess moisture, which can make the cheese balls soggy.
- Cheese: For best results, use sharp cheddar cheese, which provides a more pronounced flavor that pairs well with the broccoli.
- Breadcrumbs: You can use regular breadcrumbs, panko, or even gluten-free breadcrumbs if needed.
Variations
1. Spicy Broccoli Cheese Balls
Add 1/4 teaspoon cayenne pepper or 1/2 teaspoon crushed red pepper flakes to the mixture for a spicy kick.
2. Italian-Style Broccoli Cheese Balls
Stir in 1 teaspoon Italian seasoning and use mozzarella cheese instead of cheddar for an Italian twist.
3. Bacon Broccoli Cheese Balls
Add 1/4 cup cooked, crumbled bacon to the mixture for a smoky, savory flavor that complements the cheese and broccoli.
Serving Suggestions
- With Dipping Sauce: Serve these broccoli cheese balls with ranch dressing, marinara sauce, or honey mustard for dipping.
- As a Side Dish: These cheese balls make a great side dish for grilled chicken or baked fish.
- On a Party Platter: Include them on a party appetizer platter along with veggies, dips, and other bite-sized treats.
Frequently Asked Questions
Can I Make Broccoli Cheese Balls Ahead of Time?
Yes! You can assemble the broccoli cheese balls ahead of time and refrigerate them for up to 1 day before baking. This makes them a convenient make-ahead option for parties or weeknight dinners.
How Do I Store Leftover Broccoli Cheese Balls?
Store any leftover broccoli cheese balls in an airtight container in the refrigerator for up to 3 days. Reheat in the oven at 350°F (175°C) for 10 minutes to restore their crispiness.
Can I Freeze Broccoli Cheese Balls?
Yes, these cheese balls freeze well. Place them in a single layer on a baking sheet and freeze until solid. Transfer to a freezer-safe container and freeze for up to 3 months. Reheat directly from frozen in a 400°F (200°C) oven for 15-20 minutes.
Baked Broccoli Cheese Balls are a delicious and healthy way to enjoy broccoli in a fun, cheesy form. They’re easy to make, full of flavor, and perfect as a snack, appetizer, or side dish. Whether you’re preparing them for a party or just as a quick family treat, these cheese balls are sure to be a hit. Give this recipe a try and enjoy the crispy, cheesy goodness in every bite!
Did you make this recipe? Share your experience in the comments below and let us know how it turned out!

One thing I would really like to reply to is that weightloss system fast can be achieved by the perfect diet and exercise. Your size not only affects appearance, but also the general quality of life. Self-esteem, melancholy, health risks, in addition to physical ability are damaged in putting on weight. It is possible to do everything right whilst still having a gain. Should this happen, a condition may be the offender. While an excessive amount of food and not enough exercising are usually guilty, common health conditions and widespread prescriptions may greatly enhance size. Thx for your post right here.
I have been exploring for a bit for any high quality articles or weblog posts on this kind of area . Exploring in Yahoo I ultimately stumbled upon this web site. Reading this information So i抦 satisfied to show that I have an incredibly good uncanny feeling I came upon just what I needed. I so much surely will make certain to don抰 forget this site and provides it a look regularly.
Whats up are using WordPress for your site platform? I’m new to the blog world but I’m trying to get started and set up my own. Do you require any html coding knowledge to make your own blog? Any help would be greatly appreciated!