No Bake Cherry Cheesecake: A Delicious and Easy Dessert
Introduction
There’s nothing quite like a homemade dessert to bring joy to any occasion. One of my all-time favorites is the No Bake Cherry Cheesecake. This delightful treat has been a staple in my family for generations, and it always brings back fond memories of special gatherings and celebrations. The best part is, it requires no baking, making it a quick and hassle-free dessert option. In this article, I’ll share with you the recipe for this mouthwatering dessert, along with some variations and frequently asked questions. So let’s dive in and discover the secrets of creating the perfect No Bake Cherry Cheesecake!
Instructions
Preparing the No Bake Cherry Cheesecake is a breeze. Here’s a step-by-step guide:
Step 1: Crust
To begin, you’ll need to prepare the crust. Start by crushing your favorite type of biscuit or graham crackers in a food processor until they form fine crumbs. Transfer the crumbs to a bowl and mix in melted butter until the mixture is well combined and resembles wet sand. Press the crust mixture firmly into the bottom of a springform pan, creating an even layer. Place the crust in the refrigerator to chill while you prepare the filling.
Step 2: Filling
Next, it’s time to prepare the creamy and luscious filling. In a large mixing bowl, combine softened cream cheese, sugar, and vanilla extract. Beat the mixture using an electric mixer until it becomes smooth and fluffy. In a separate bowl, whip the heavy cream until stiff peaks form. Gently fold the whipped cream into the cream cheese mixture until well incorporated. Pour the filling over the chilled crust, spreading it evenly.
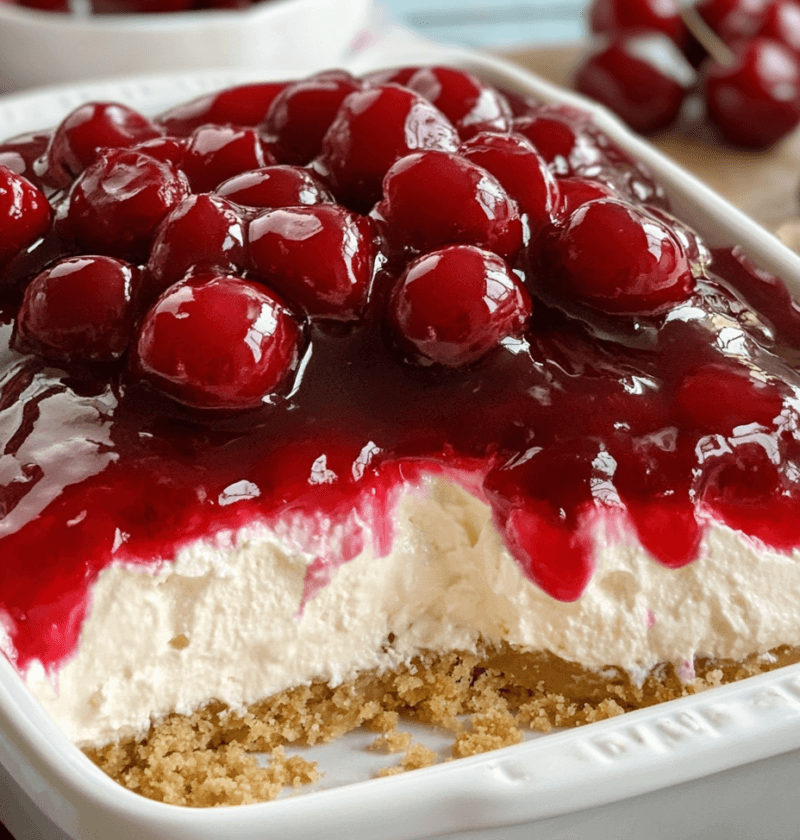
Step 3: Cherry Topping
The crowning glory of this cheesecake is the cherry topping. You can either use canned cherry pie filling or make your own by simmering fresh cherries with sugar and a touch of lemon juice until they become thick and syrupy. Once your cherry topping is ready, carefully spoon it over the cheesecake filling, spreading it evenly across the surface.
Step 4: Chilling
Once you’ve added the cherry topping, cover the springform pan with plastic wrap and place it in the refrigerator. Allow the cheesecake to chill for at least 4 hours, or preferably overnight. This will give the flavors time to meld together and the cheesecake to set properly.
Variations
While the classic No Bake Cherry Cheesecake is undeniably delicious, you can also experiment with different variations to suit your taste preferences. Here are a few ideas:
Keto Version
If you’re following a keto diet, you can easily adapt this recipe to be low in carbs. Instead of using regular sugar, opt for a keto-friendly sweetener such as erythritol or stevia. You can also replace the biscuit or graham cracker crust with a mixture of crushed almonds or pecans and melted butter. The result will be a rich and creamy keto-friendly cheesecake that satisfies your sweet tooth without derailing your diet.
FAQ
Q: Can I use a different fruit topping instead of cherries?
A: Absolutely! While cherries are the traditional choice for this cheesecake, you can use any fruit topping of your liking. Strawberries, blueberries, or even a combination of fruits can work beautifully.
Q: Can I freeze the No Bake Cherry Cheesecake?
A: Yes, you can freeze the cheesecake for up to a month. Simply wrap it tightly in plastic wrap and place it in an airtight container before freezing. Thaw it in the refrigerator overnight before serving.
Q: Can I make individual servings instead of a whole cheesecake?
A: Definitely! You can use small dessert cups or ramekins to create individual servings. Simply divide the crust, filling, and cherry topping equally among the cups. It’s a great way to impress guests at a dinner party or to enjoy portion-controlled treats.
Conclusion
The No Bake Cherry Cheesecake is a dessert that never fails to impress. Its creamy texture, tangy cherries, and buttery crust create a harmonious symphony of flavors that will leave everyone craving for more. Whether you’re hosting a special occasion or simply want to treat yourself, this recipe is a must-try. So gather your ingredients, follow the steps, and indulge in a slice of heaven with this delightful no-bake dessert. Your loved ones will thank you!